 |
| Last one I finished |
Once you've joined in, there is a feature in the group called "Learning" and you can go to unit 3, which is where all the steps and guides will be organized.

Step Two: Pick some fabric and make sure you have your supplies! You will need a thumb lock (sometimes called a push lock), zipper, and if you are doing a strap, a D-ring and a connector. I am using 3 fat quarters for my fabric, but you can use yardage or even more! Just make sure you cut the big pieces first or anything you want to center or fussy cut.
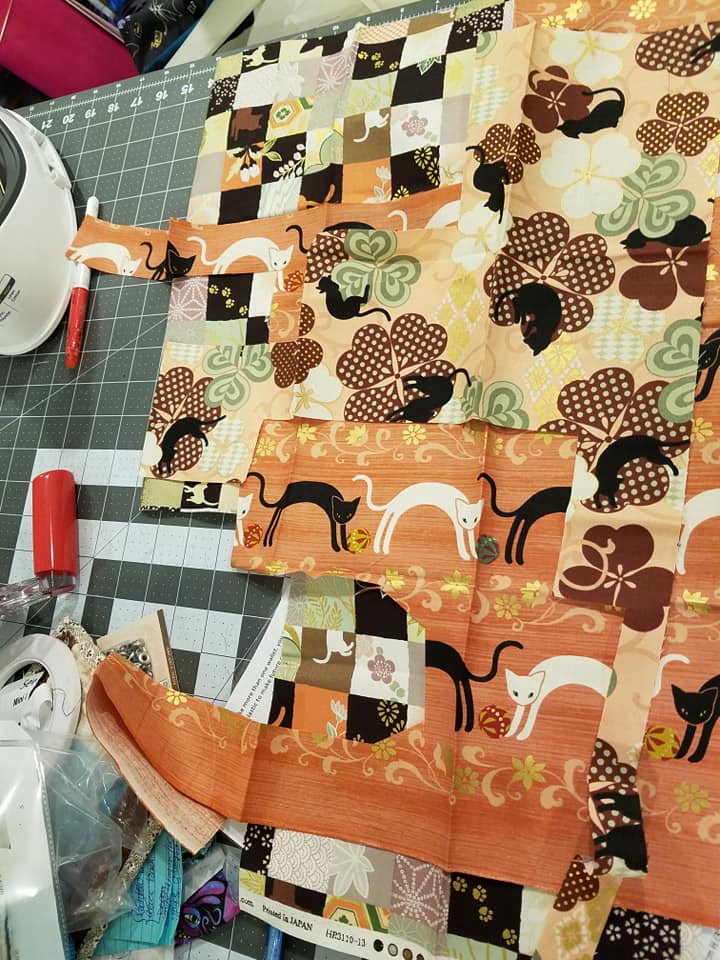 |
| The leftovers from 3 fat quarters. |
Step Three: This one is more involved, you need to follow the instruction to make sure you fuse everything correctly since the interfacing is cut smaller to make everything fit and reduce layers for sewing! Also, pay attention to the pieces you need to fold up the seam allowances for: both body pieces, card pockets backing piece, ID pocket backing, ID pocket binding pieces (3 only). Don't forget the other pieces you should be folding now too.
 |
| All my pieces cut and fused, still need to do the seam allowance folding. |
Timeline:
Step 1 - prep (should be done - buying and reading the pattern)
Step 2 - gather supplies (should also be done - be sure to jump in the group and share your fabrics!)
Step 3 - cut out the pieces, interfacing, and fuse it all together - Try to finish this by Wednesday!
Step 4 - Outside and wrist strap (optional) (Thursday/Friday)
Step 5 - Inside pockets (Weekend)
Step 6 - Put it all together! (Weekend)
No comments:
Post a Comment
I love to read comments and receive feedback! Thanks for visiting!